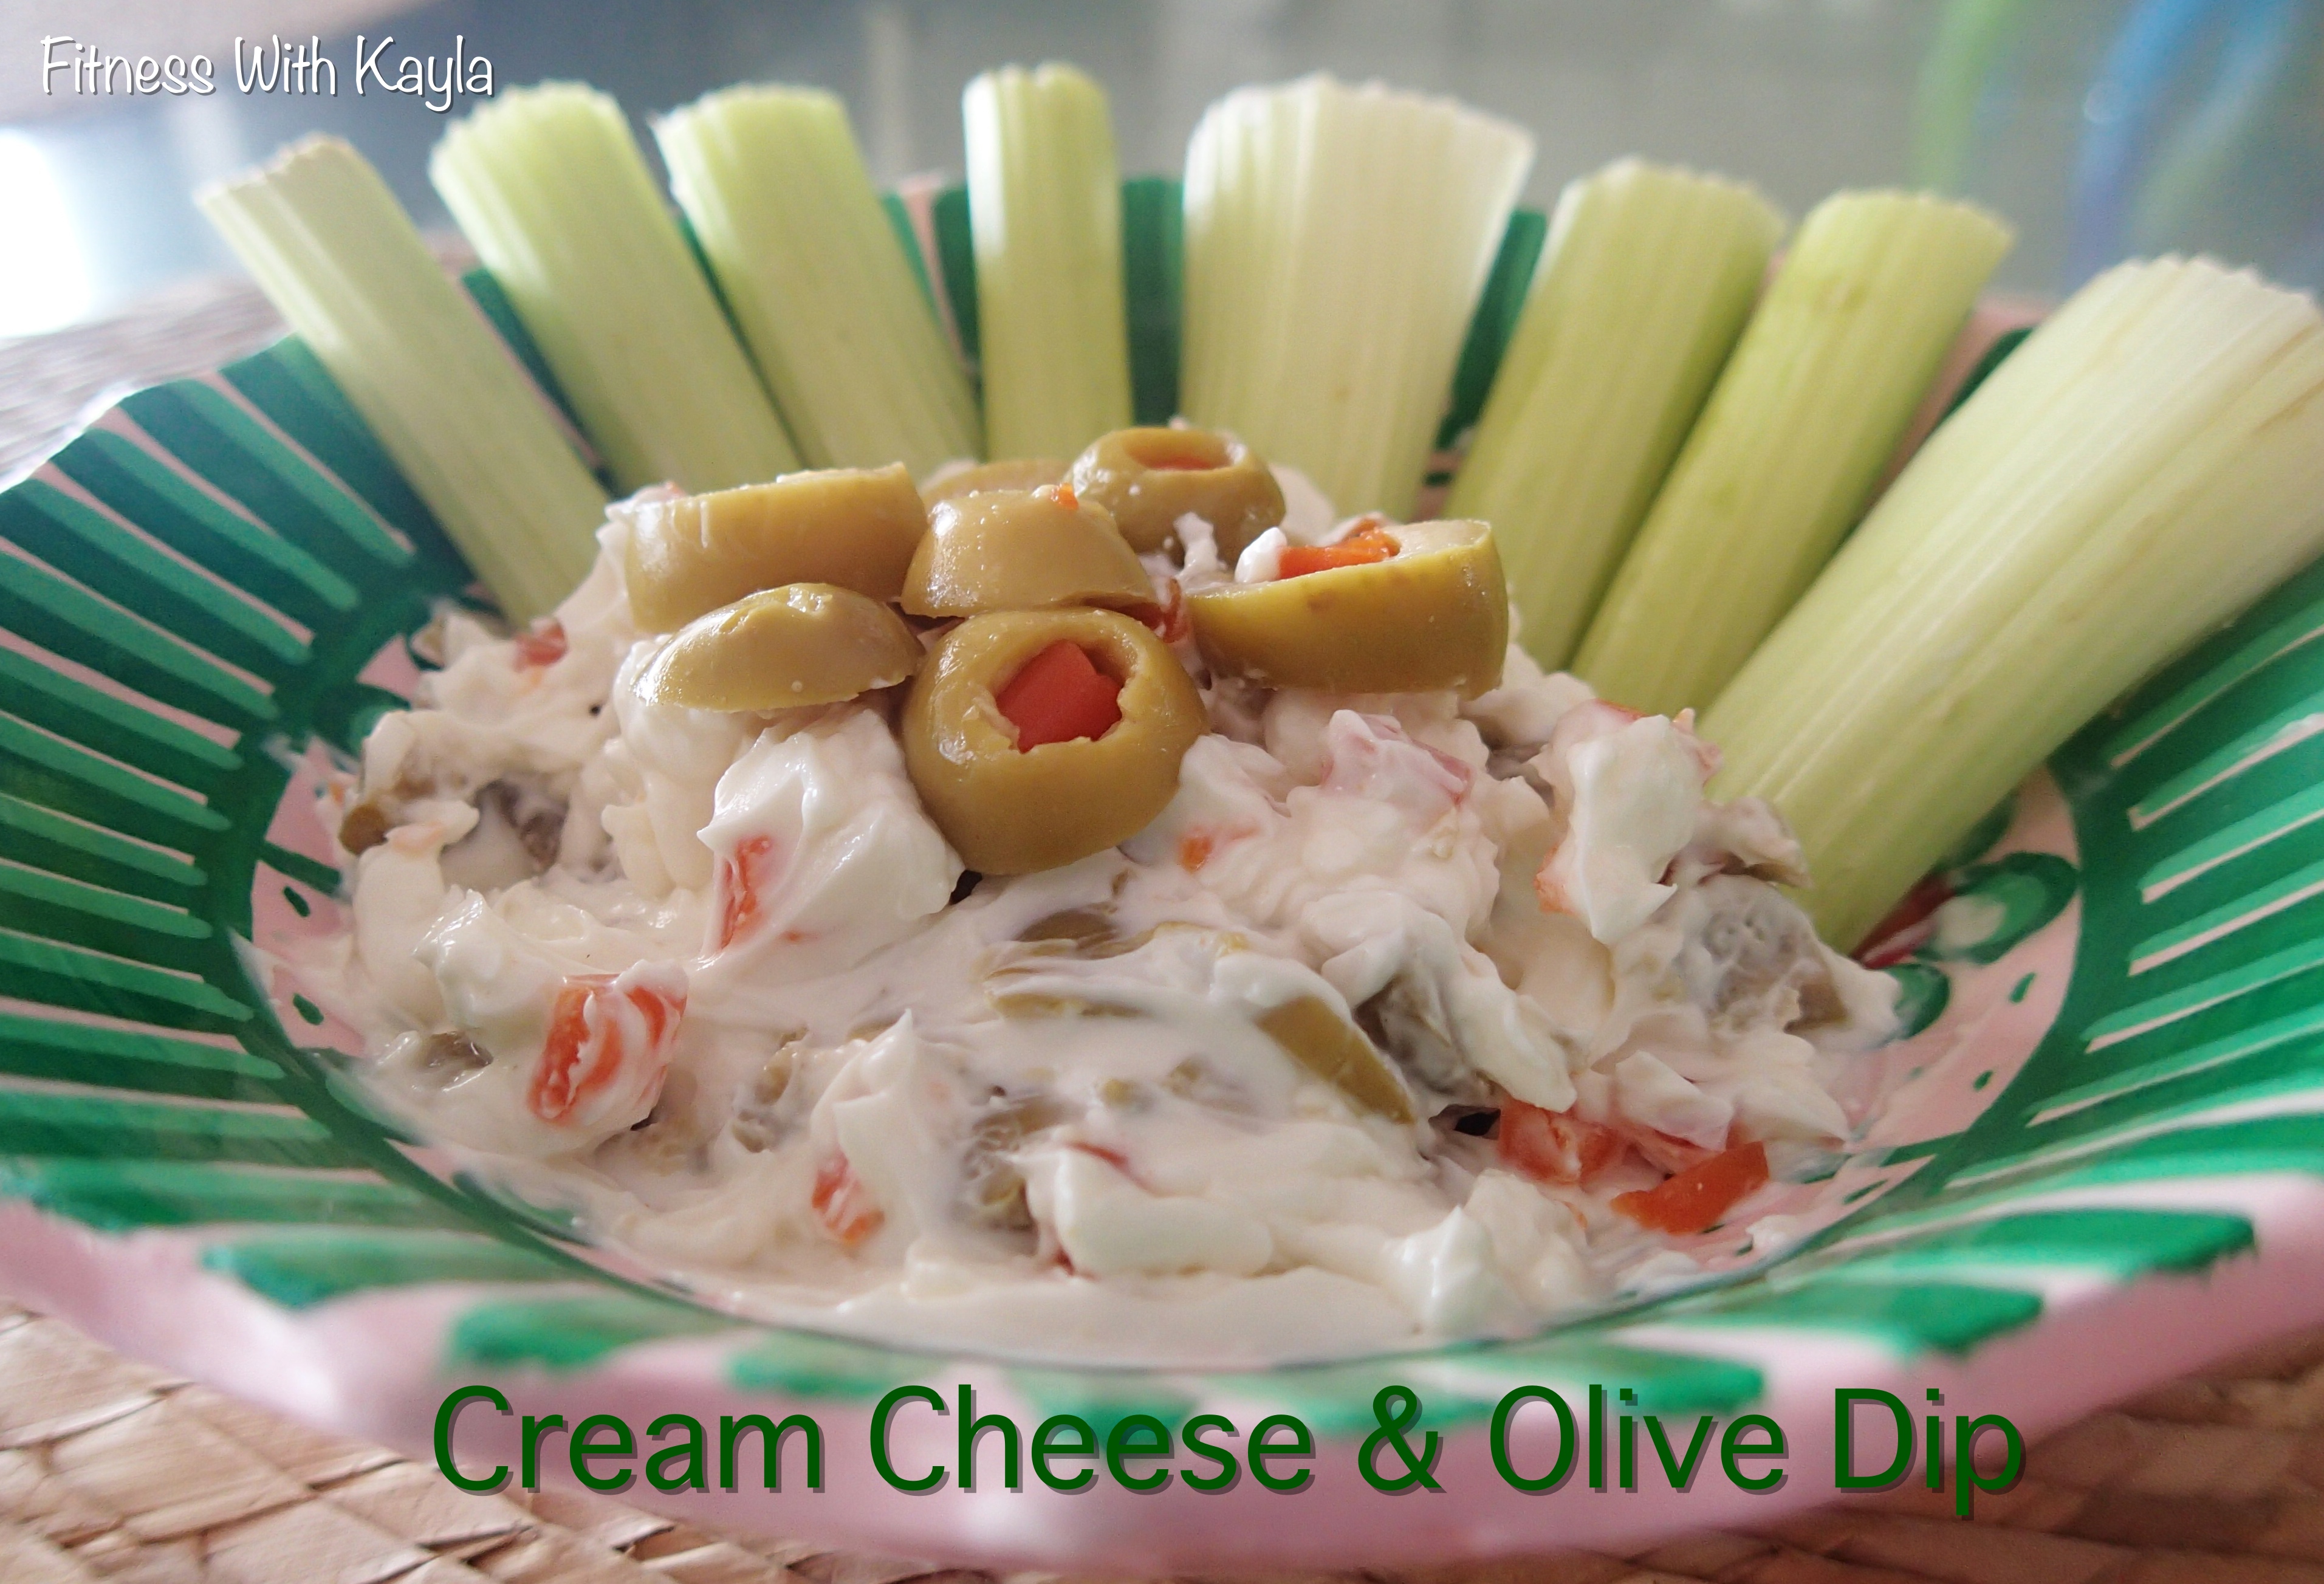
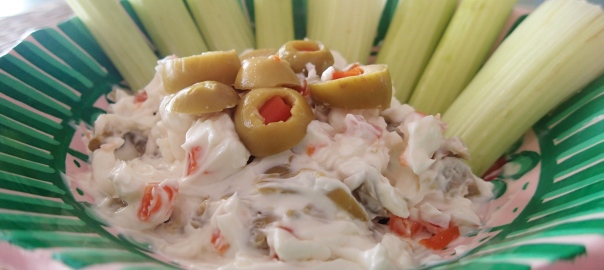
If you are looking for a quick and easy snack, or a quick appetizer to bring to a party, try out this tasty treat. With just 3 ingredients, it takes less than 5 minutes to prepare! It taste great with veggies, on a sandwich, or with crackers or chips such as Triscuits or Doritos!
Who loves Ranch Dressing?? This girl right here… AND I know I’m not the only one! Today, I am going to share with you how I make my homemade ranch seasoning, which is so versatile and useful in many recipes. It is so fast and easy to make. I try to have a batch on hand at all times
Before I moved to Mexico, I would buy these Hidden Valley Ranch Dressing seasoning mixes when I was craving homemade ranch dressing.
Living in Mexico, you learn to change your habits, because many things are very hard to come across, or just not available.
I came up with this quick easy recipe, and it taste just like the package stuff, but its so much better!!! I have read many different recipes, and after many tries, I have found this is what we like the best.
Here is the recipe for the mix:
Ingredients:
1 Tbsp dried Parsley
2 tsp dried Dill (or more depending on how much you like dill- I use almost 1 Tbsp in mine)
1-2 tsp Garlic Powder
1 tsp Onion Powder
1/2 – 3/4 tsp dried Basil
1/2 tsp Black Pepper
Instructions:
1- Add each of the dried spices to a bowl and mix carefully.
2- Store in an airtight container or Ziploc bag.
Use this Homemade Ranch Dressing Seasoning to replace the pre-packaged. Check out my blog on Homemade Lightened Up Buttermilk Ranch Dressing, which uses this awesome mix!
How many recipes do you have that require shredded chicken? I could probably come up with a lonnnnnng list, but I will save that for another time. My favorite uses of shredded chicken are in casseroles, soups, and CHICKEN SALAD!!! My family just loves chicken salad, and it is so easy to whip up using either my Crock Pot Shredded Chicken recipe, or left over Crock Pot Whole Chicken…or even a store bought Rotisserie Chicken. You chose which chicken route you prefer, but today I am going to share with you first my Crock Pot Shredded Chicken… and then check out my recipe for my Homemade Chicken Salad!!!
Ingredients:
3-4 Chicken Breasts
2 Carrots- chopped in large chunks
3 stalks Celery- chopped in large chunks
1/2 medium Onion- chopped in large chunks
2 cloves Garlic, minced
1 Jalapeño- diced (optional)
2-3 cups Chicken Broth or 1 cube Bouillon in 2-3 cups Water OR 2-3 cups Water
Garlic Salt (to taste)
Pepper (to taste)
Optional: 1 tsp Dried Basil
Instructions:
1- Heat Crock Pot to High.
2- Add the Chicken Breasts to the bottom of the Crock Pot, topped with all chopped veggies.
3- Cover chicken and veggies with Chicken Broth.
4- Cover Crock Pot and cook on high for 3-4 hours, or until chicken is tender enough to cut with a fork (or to desired doneness.) (or if you prefer, cook on Low for 5-6hours)
Thank you all in advance for understanding these changes.
Please read this message in its entirety.
After much consideration, and many months of changing exchange rates, I have finally decided that the time has come to modify my policies on the $5 USD to pesos rate for classes.
Effective September 5th, 2015, class will continue to be $5 USD or 80 pesos ($1 USD = 16 pesos exchange rate). I will now be offering 5 class or 10 class punch cards, which include a discount. Please see the chart below for all of the details on the exact prices.
I will accept payment in cash of USD or Pesos, as always.
If you have any questions, please feel free to contact me.
Again, thank you all so much for understanding these changes. I truly value your business and support, and look forward to continuing to teach and work with each of you on your health and fitness goals!!!
Punch Card Options
Price in USD
Price is Pesos
1 Class
$5 US
80 MXP
5 Classes
$23.75 US (4.75/class)
380 MXP (76/class)
10 Classes
$45 US (4.50/class)
720 MXP (72/class)
For your printable list of prices, please click the following link : Punch Card Prices
Here it is… my latest pizza recipe!!! This one just might be my best pizza yet! I know its hard to believe, but this low carb pizza is out of this world!
As you all must know by now… I love PIZZA… and especially if I can make healthy pizza. I thought that my greatest pizza success was Cauliflower Pizza, but I think I have definitely found something better! This Zucchini Pizza is just amazing!
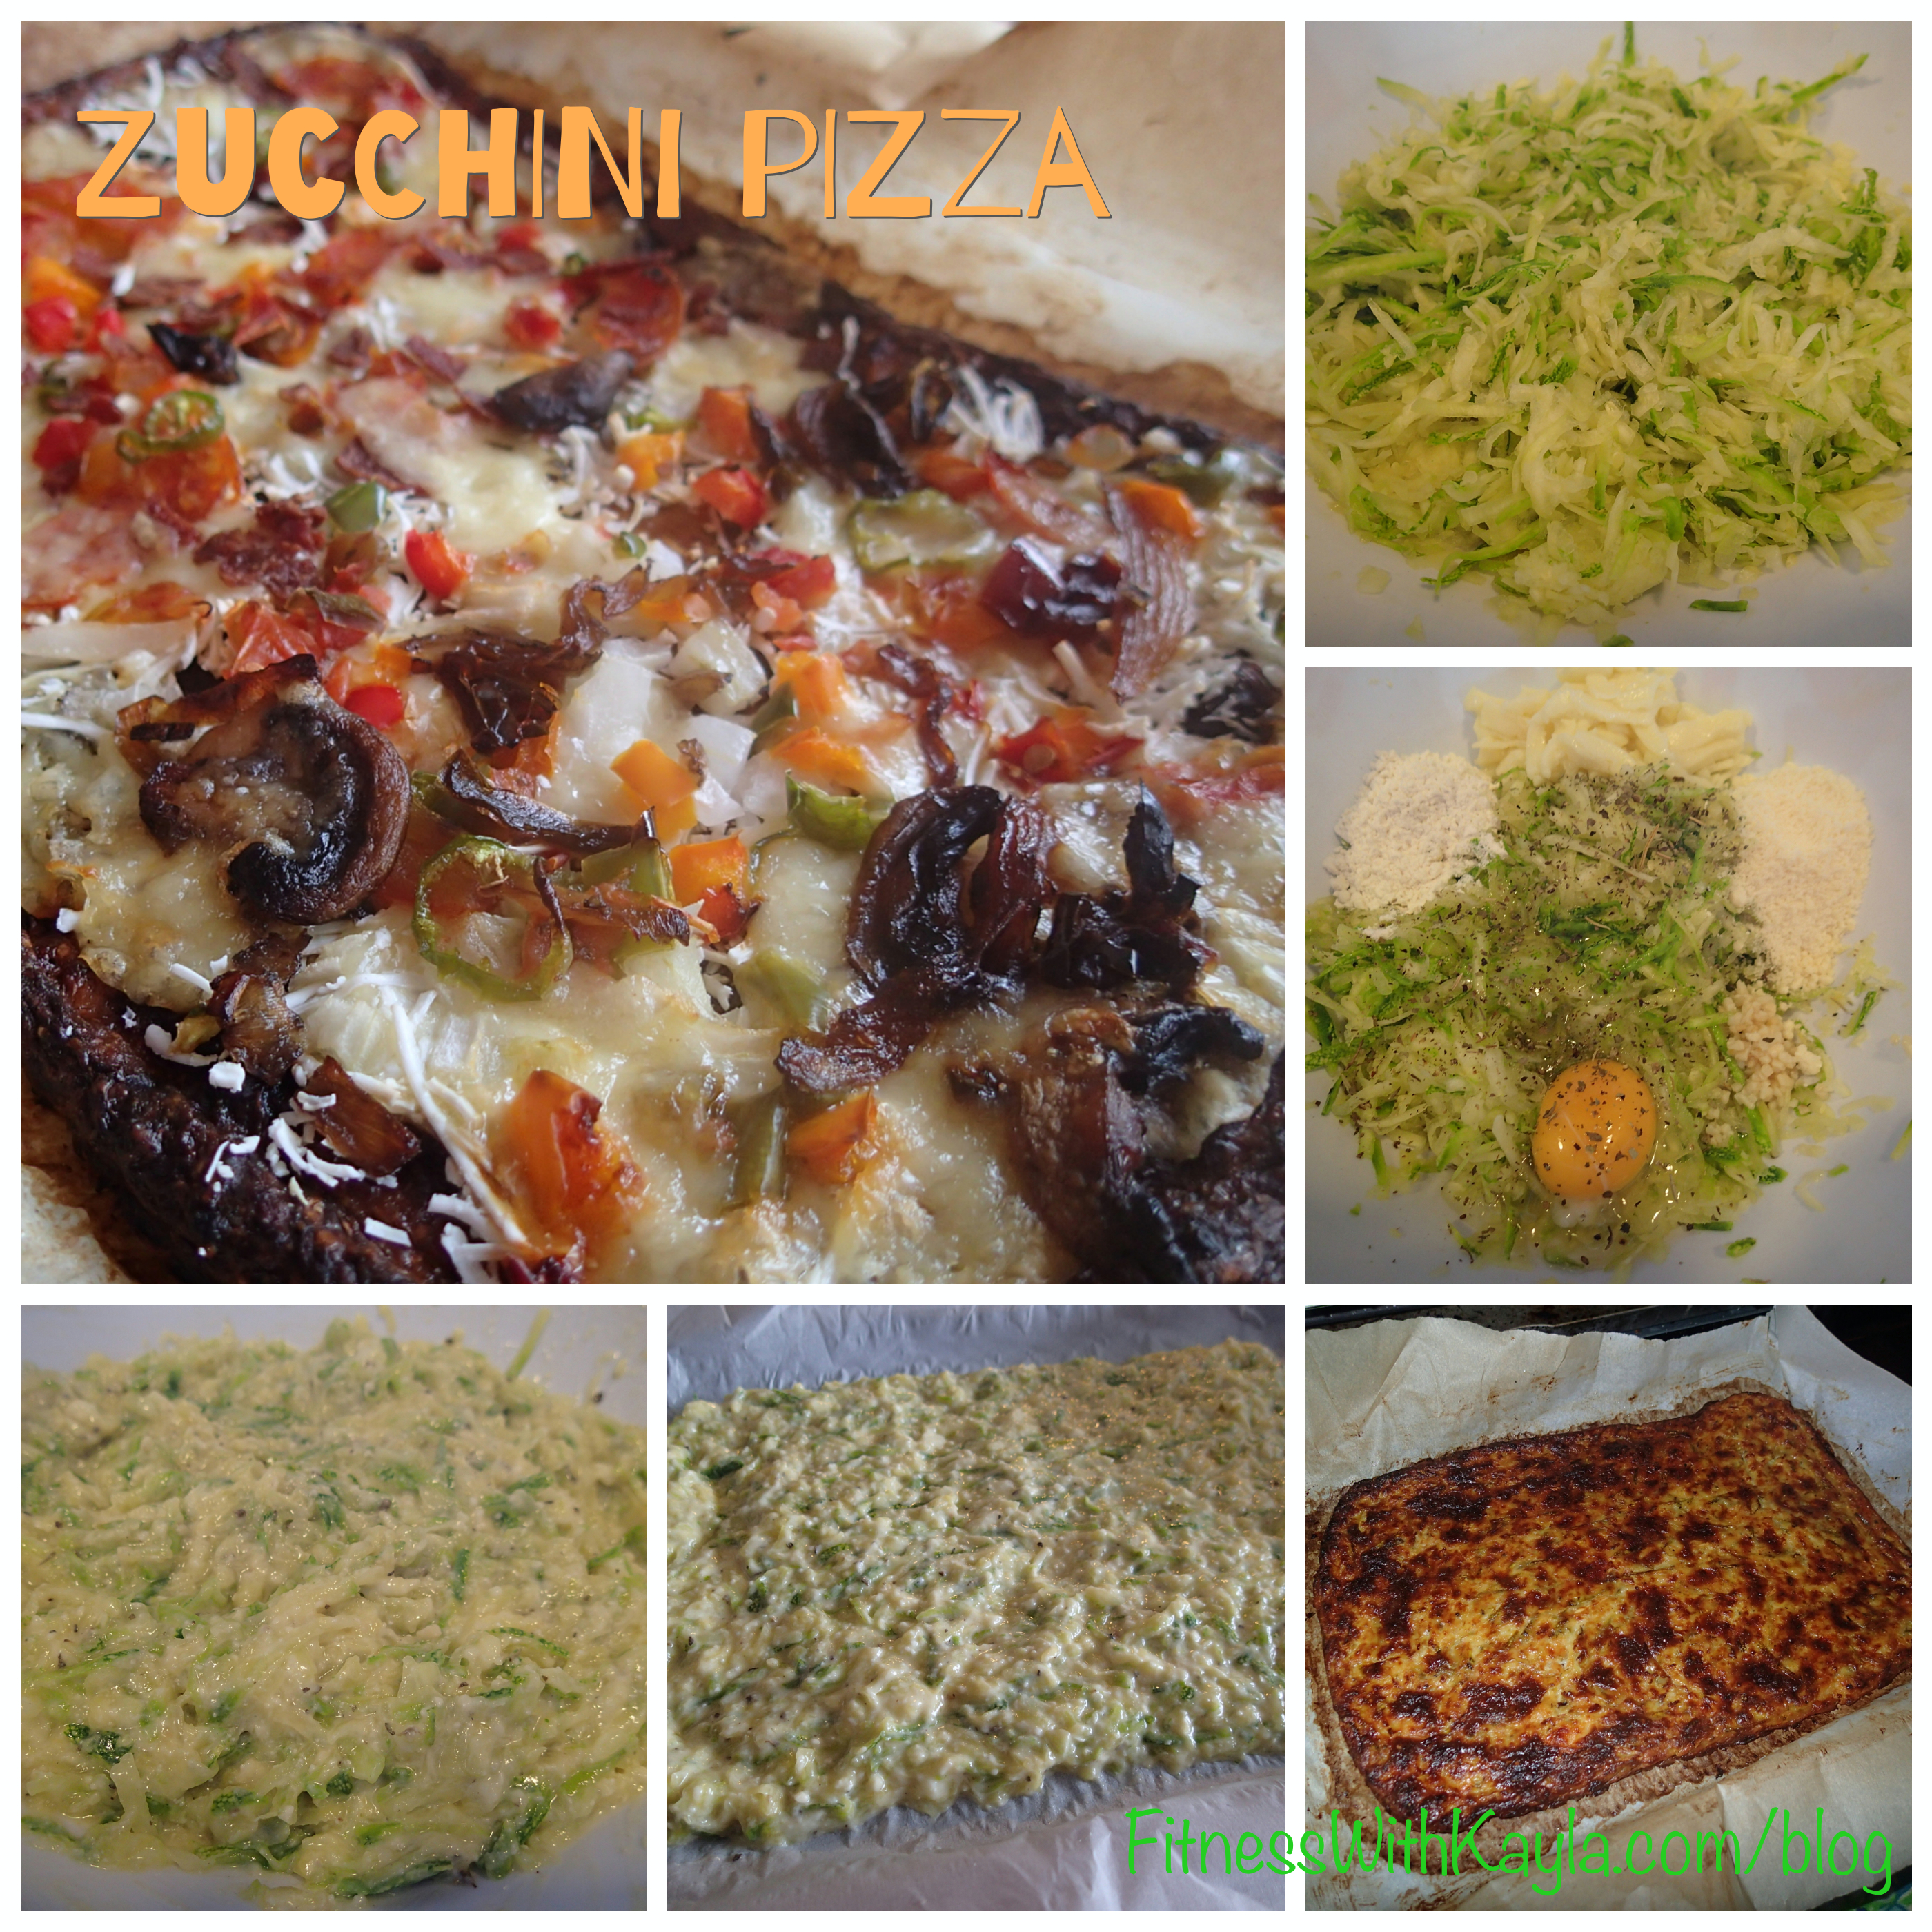
The key to making this pizza is to use fresh zucchini, and be sure to squeeze as much water out of it as possible. If you leave too much water in, the pizza will not stay together. You can easily double this recipe to make a larger portion, if you would like. I really love this pizza because you can add any kind of topping that you desire, and it always turns out great! In the photo above, I made a half veggie and half loaded zucchini pizza!
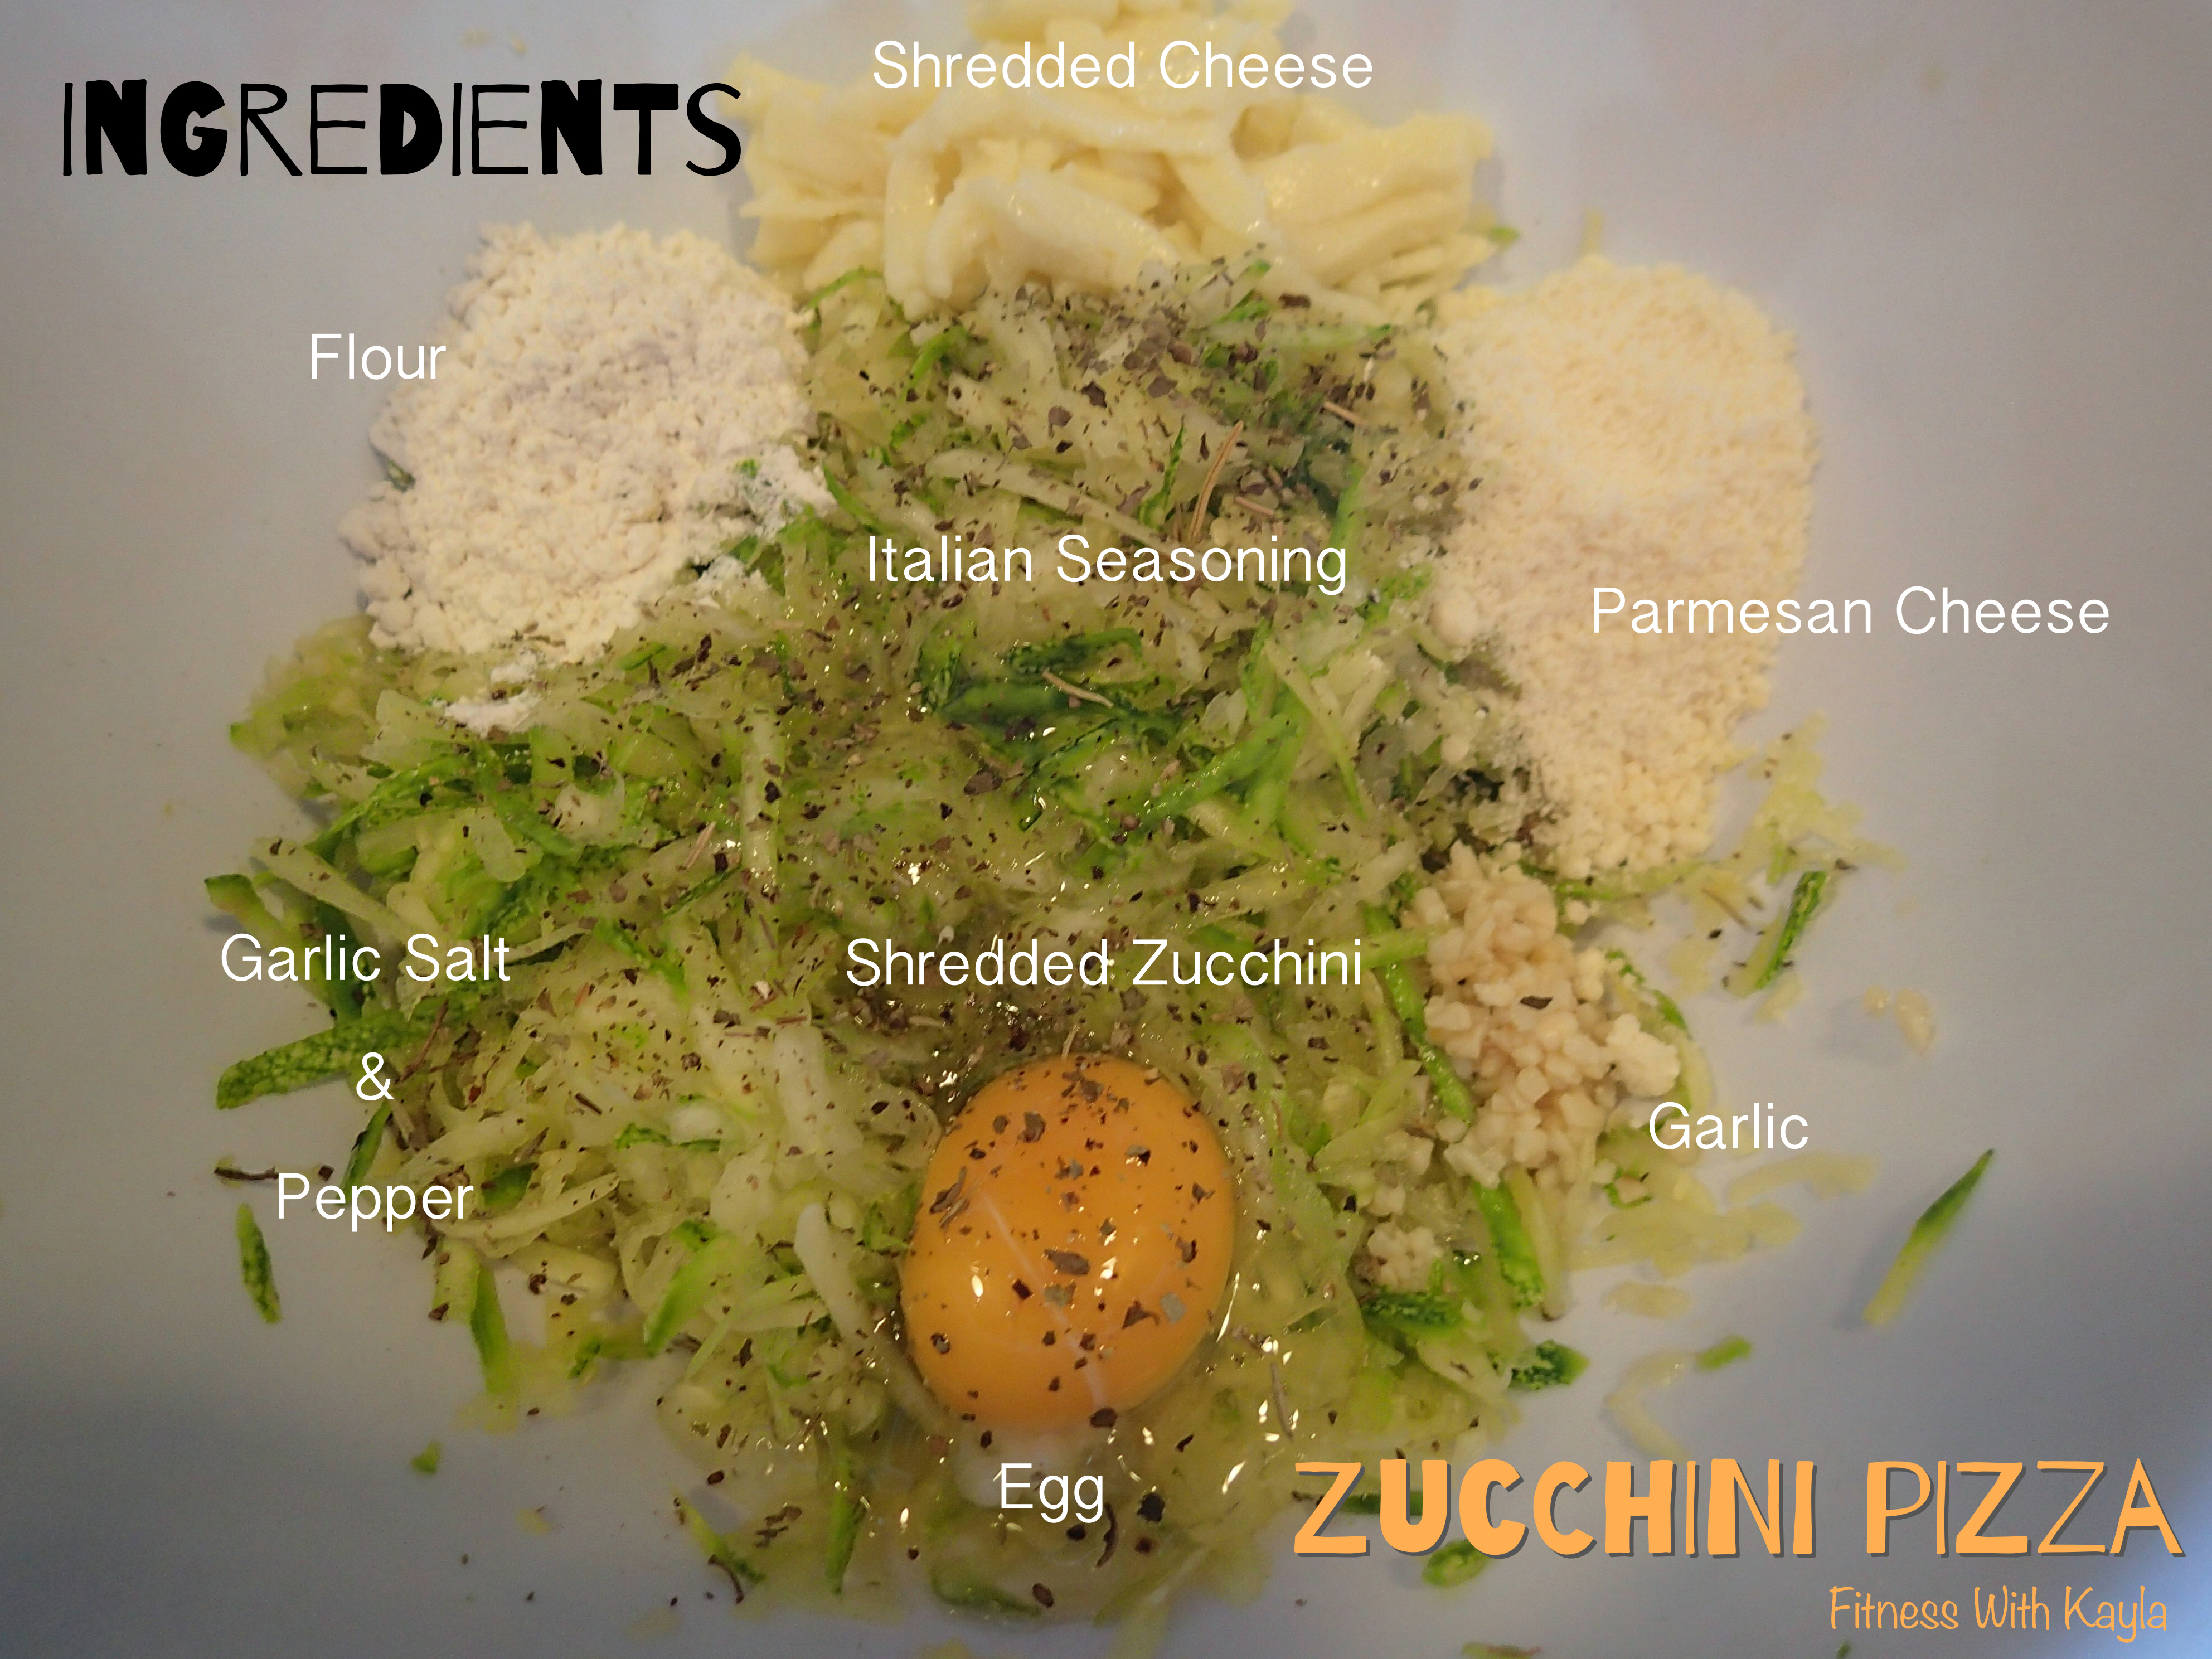
Here is what you need to make Zucchini Pizza:
Ingredients:
2 cups Shredded Zucchini, packed and drained*
1 clove Garlic, minced
1 Egg
4 Tbsp Parmesan Cheese, grated
1/4 cup Shredded Cheese (any kind such as Mozzarella, Monterrey Jack, Cheddar, Chihuahua, Manchego, etc)
2 tsp Italian Seasoning
2 1/2 Tbsp Flour (or Rice or Almond Flour)
1 tsp Garlic Salt
1 tsp Pepper
Note: Once you shred the zucchini, be sure to squeeze as much water out as possible. Pack the zucchini tightly into a measuring cup to yield 2 cups.
Instructions:
1- Shred Zucchini into a large mixing bowl. Working in batches, squeeze the water out of the zucchini, using your hands. Transfer zucchini on to a clean dish towel and squeeze out the remainder of the liquid. Once zucchini is drained, transfer to a measuring cup and tightly pack the zucchini to yield 2 cups.
2- Return zucchini to large mixing bowl and add remaining ingredients. Preheat oven to 350-400° F.
3- Mix all ingredients well, and form a ball with the mixture.
4- Line a baking sheet with parchment paper (you can also use foil, generously sprayed with non-stick cooking spray), and press zucchini mixture onto the baking sheet.
5- Form a rectangle or circle shaped pizza.
6- Bake for 15-20 minutes, until crust is a golden brown (see above photo).
7- Remove from oven and top pizza with your choice of toppings. (In this pizza, the veggie half of the pizza was onion, bell pepper, mushrooms, jalapeño, and cheese. The loaded half was onion, bell pepper, jalapeño, turkey bacon, pepperoni, and cheese.)
8- Return the pizza to the oven and cook for an additional 10 minutes, or until cheese is melted and pizza crust is crispy.
9- Remove from oven and slice pizza. Serve immediately with pizza/tomato sauce for dipping!
And that’s all there is to it… I hope you all enjoy this yummy recipe as much as my family does! I would love to hear your comments on this recipe, so let me know what you think! ENJOY 🙂
1/4 cup Shredded Cheese (any kind such as Mozzarella, Monterrey Jack, Cheddar, Chihuahua, Manchego, etc)
2 tsp Italian Seasoning
2 1/2 Tbsp Flour (or Rice or Almond Flour)
1 tsp Garlic Salt
1 tsp Pepper
Instructions
Shred Zucchini into a large mixing bowl. Working in batches, squeeze the water out of the zucchini, using your hands. Transfer zucchini on to a clean dish towel and squeeze out the remainder of the liquid. Once zucchini is drained, transfer to a measuring cup and tightly pack the zucchini to yield 2 cups.
Return zucchini to large mixing bowl and add remaining ingredients. Preheat oven to 350-400° F.
Mix all ingredients well, and form a ball with the mixture.
Line a baking sheet with parchment paper (you can also use foil, generously sprayed with non-stick cooking spray), and press zucchini mixture onto the baking sheet.
Form mixture into a rectangle or circle shaped pizza.
Bake for 15-20 minutes, until crust is a golden brown (see above photo).
Remove from oven and top pizza with your choice of toppings. (In this pizza, the veggie half of the pizza was onion, bell pepper, mushrooms, jalapeño, and cheese. The loaded half was onion, bell pepper, jalapeño, turkey bacon, pepperoni, and cheese.)
Return the pizza to the oven and cook for an additional 10 minutes, or until cheese is melted and pizza crust is crispy.
Remove from oven and slice pizza. Serve immediately with pizza/tomato sauce for dipping!
Notes
*Once you shred the zucchini, be sure to squeeze as much water out as possible. Pack the zucchini tightly into a measuring cup to yield 2 cups.
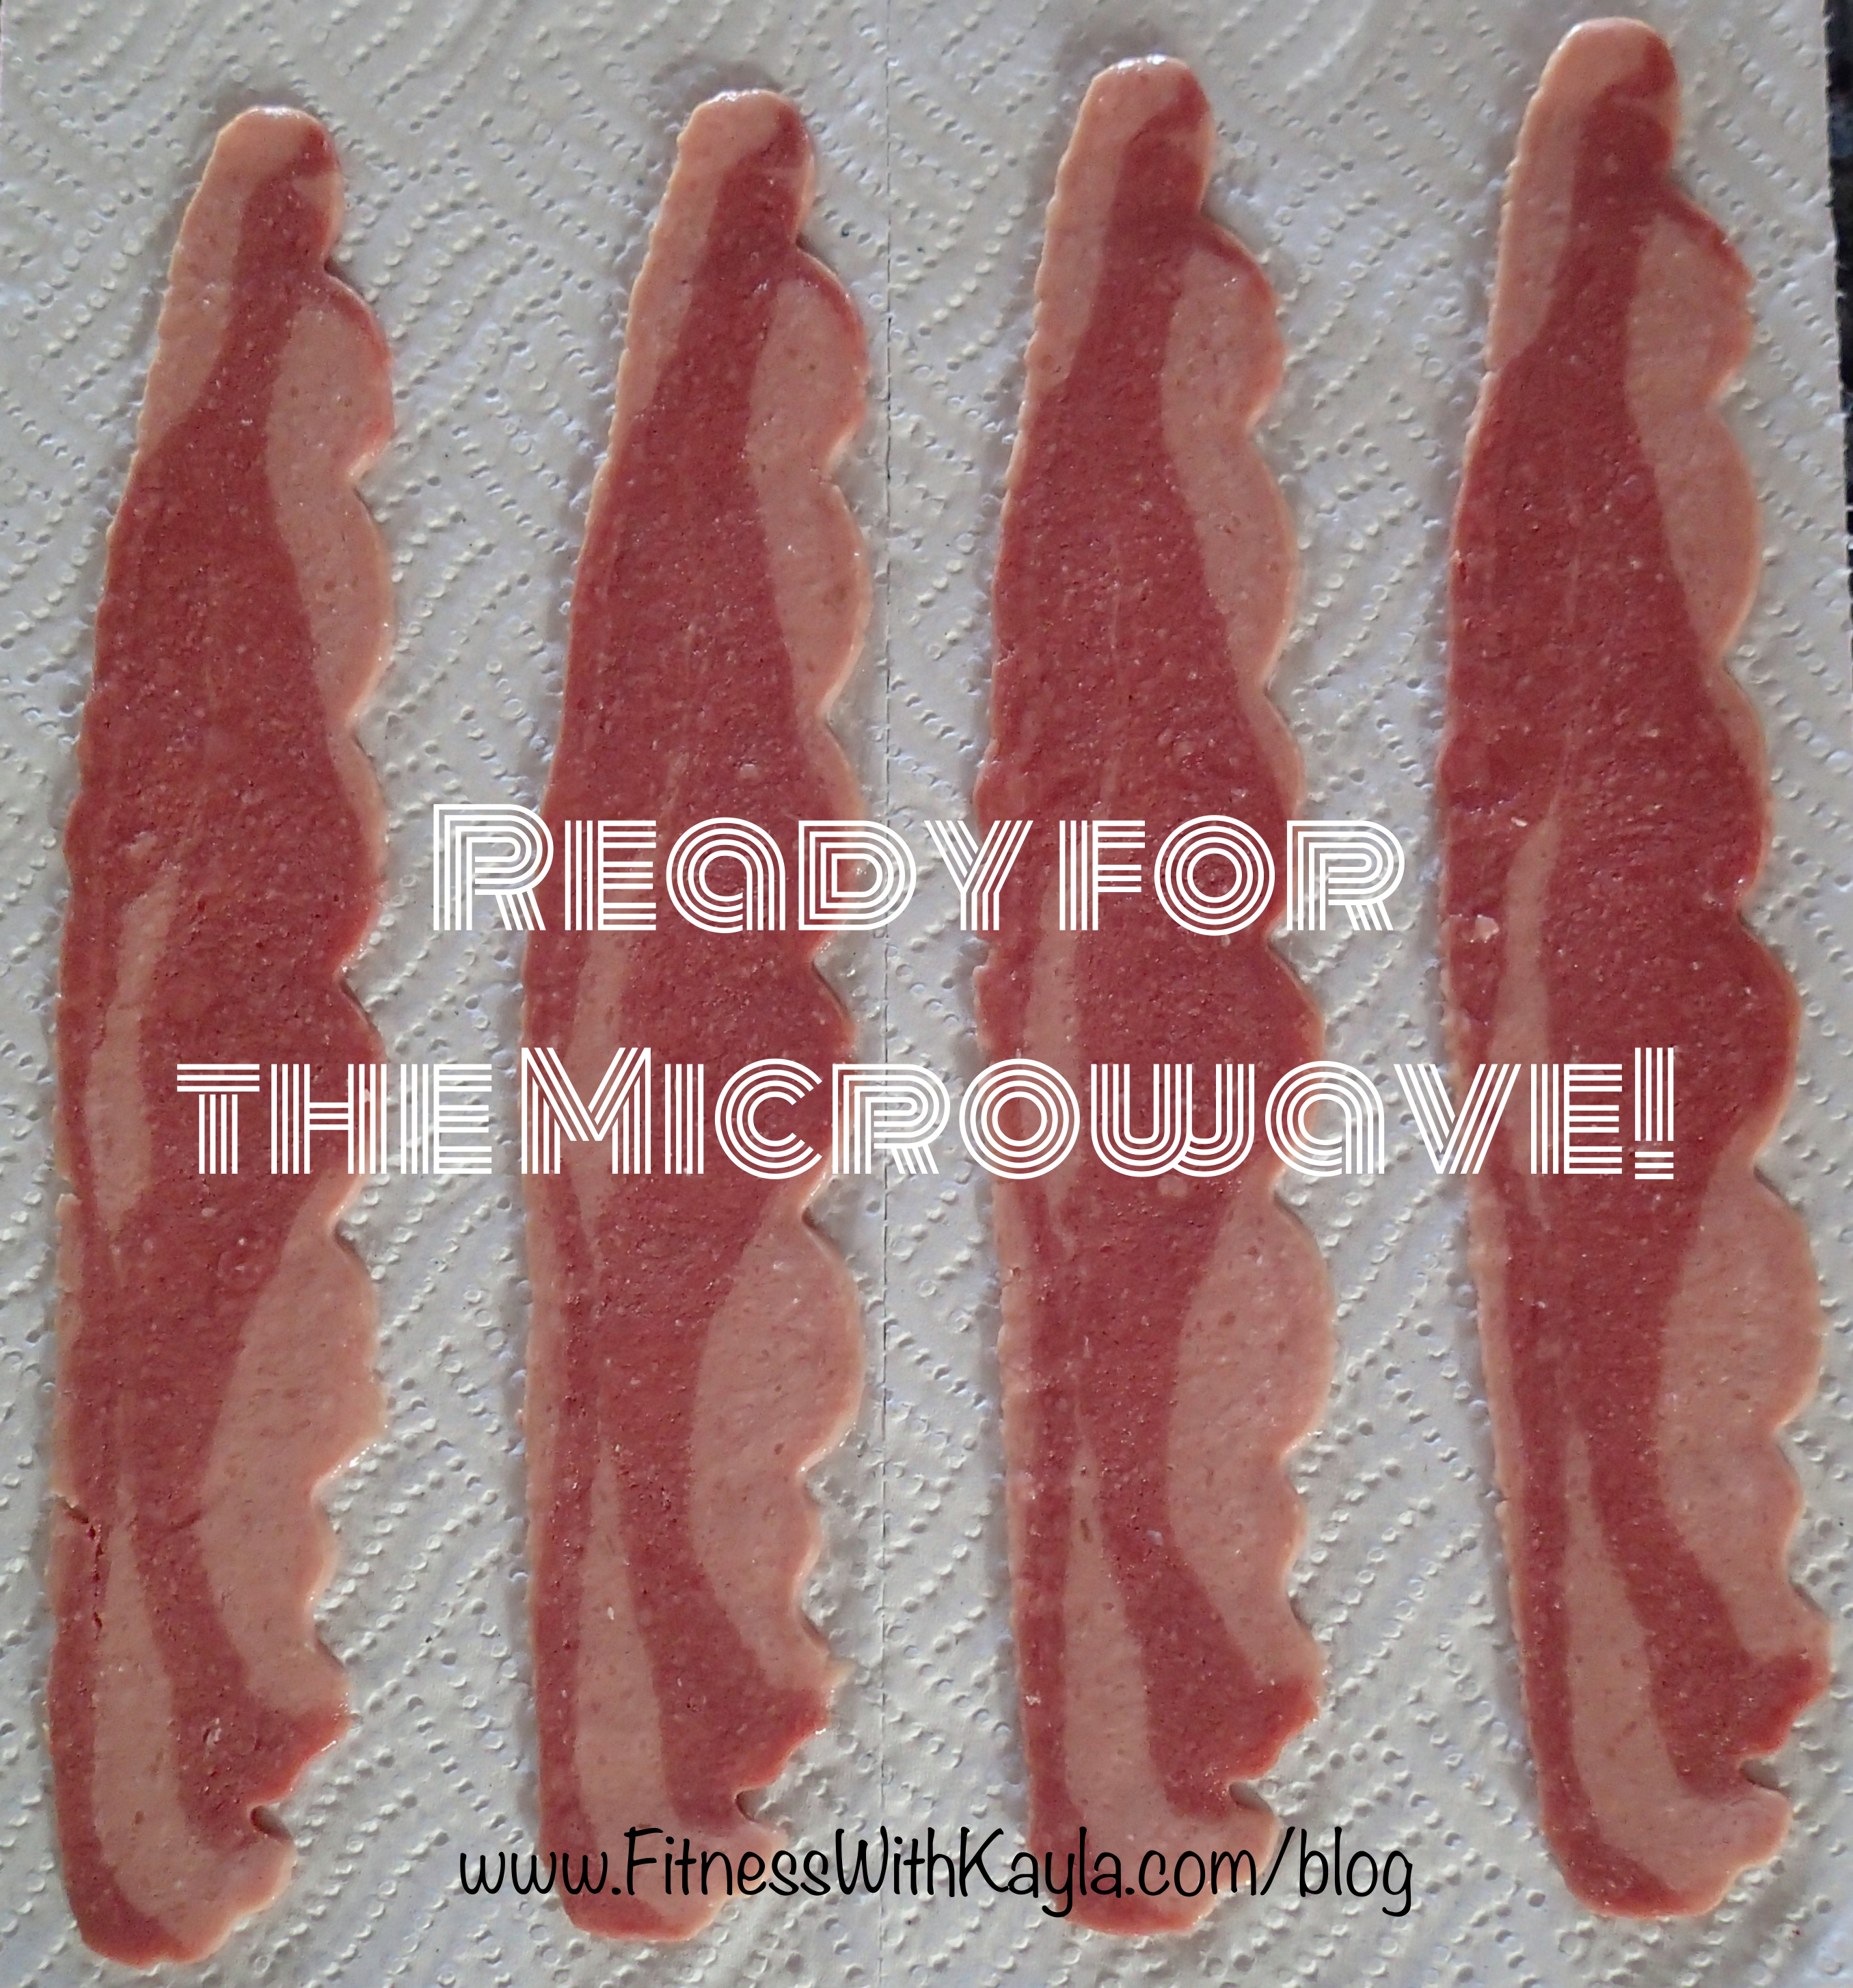
Do you love bacon, but don’t love the extra fat and grease that it adds to your diet? Well I have a solution for you! I swap out Bacon for Turkey Bacon, and instead of cooking it in a greasy pan, I cook the bacon slices between paper towels in the microwave. You will still accomplish a crispy piece of tasty bacon, but without the fat and grease!
How to cook Turkey Bacon, FAST and EASY!
What you need:
3-4 Slices Turkey Bacon
3 Paper Towels
1 Microwave
What to do:
1- Place 2 paper towels on top of each other.
2- Arrange turkey bacon slices on the paper towel so they are not touching.
3- Place 1 paper towel lightly over the bacon slices.
4- Transfer bacon and paper towels to the microwave.
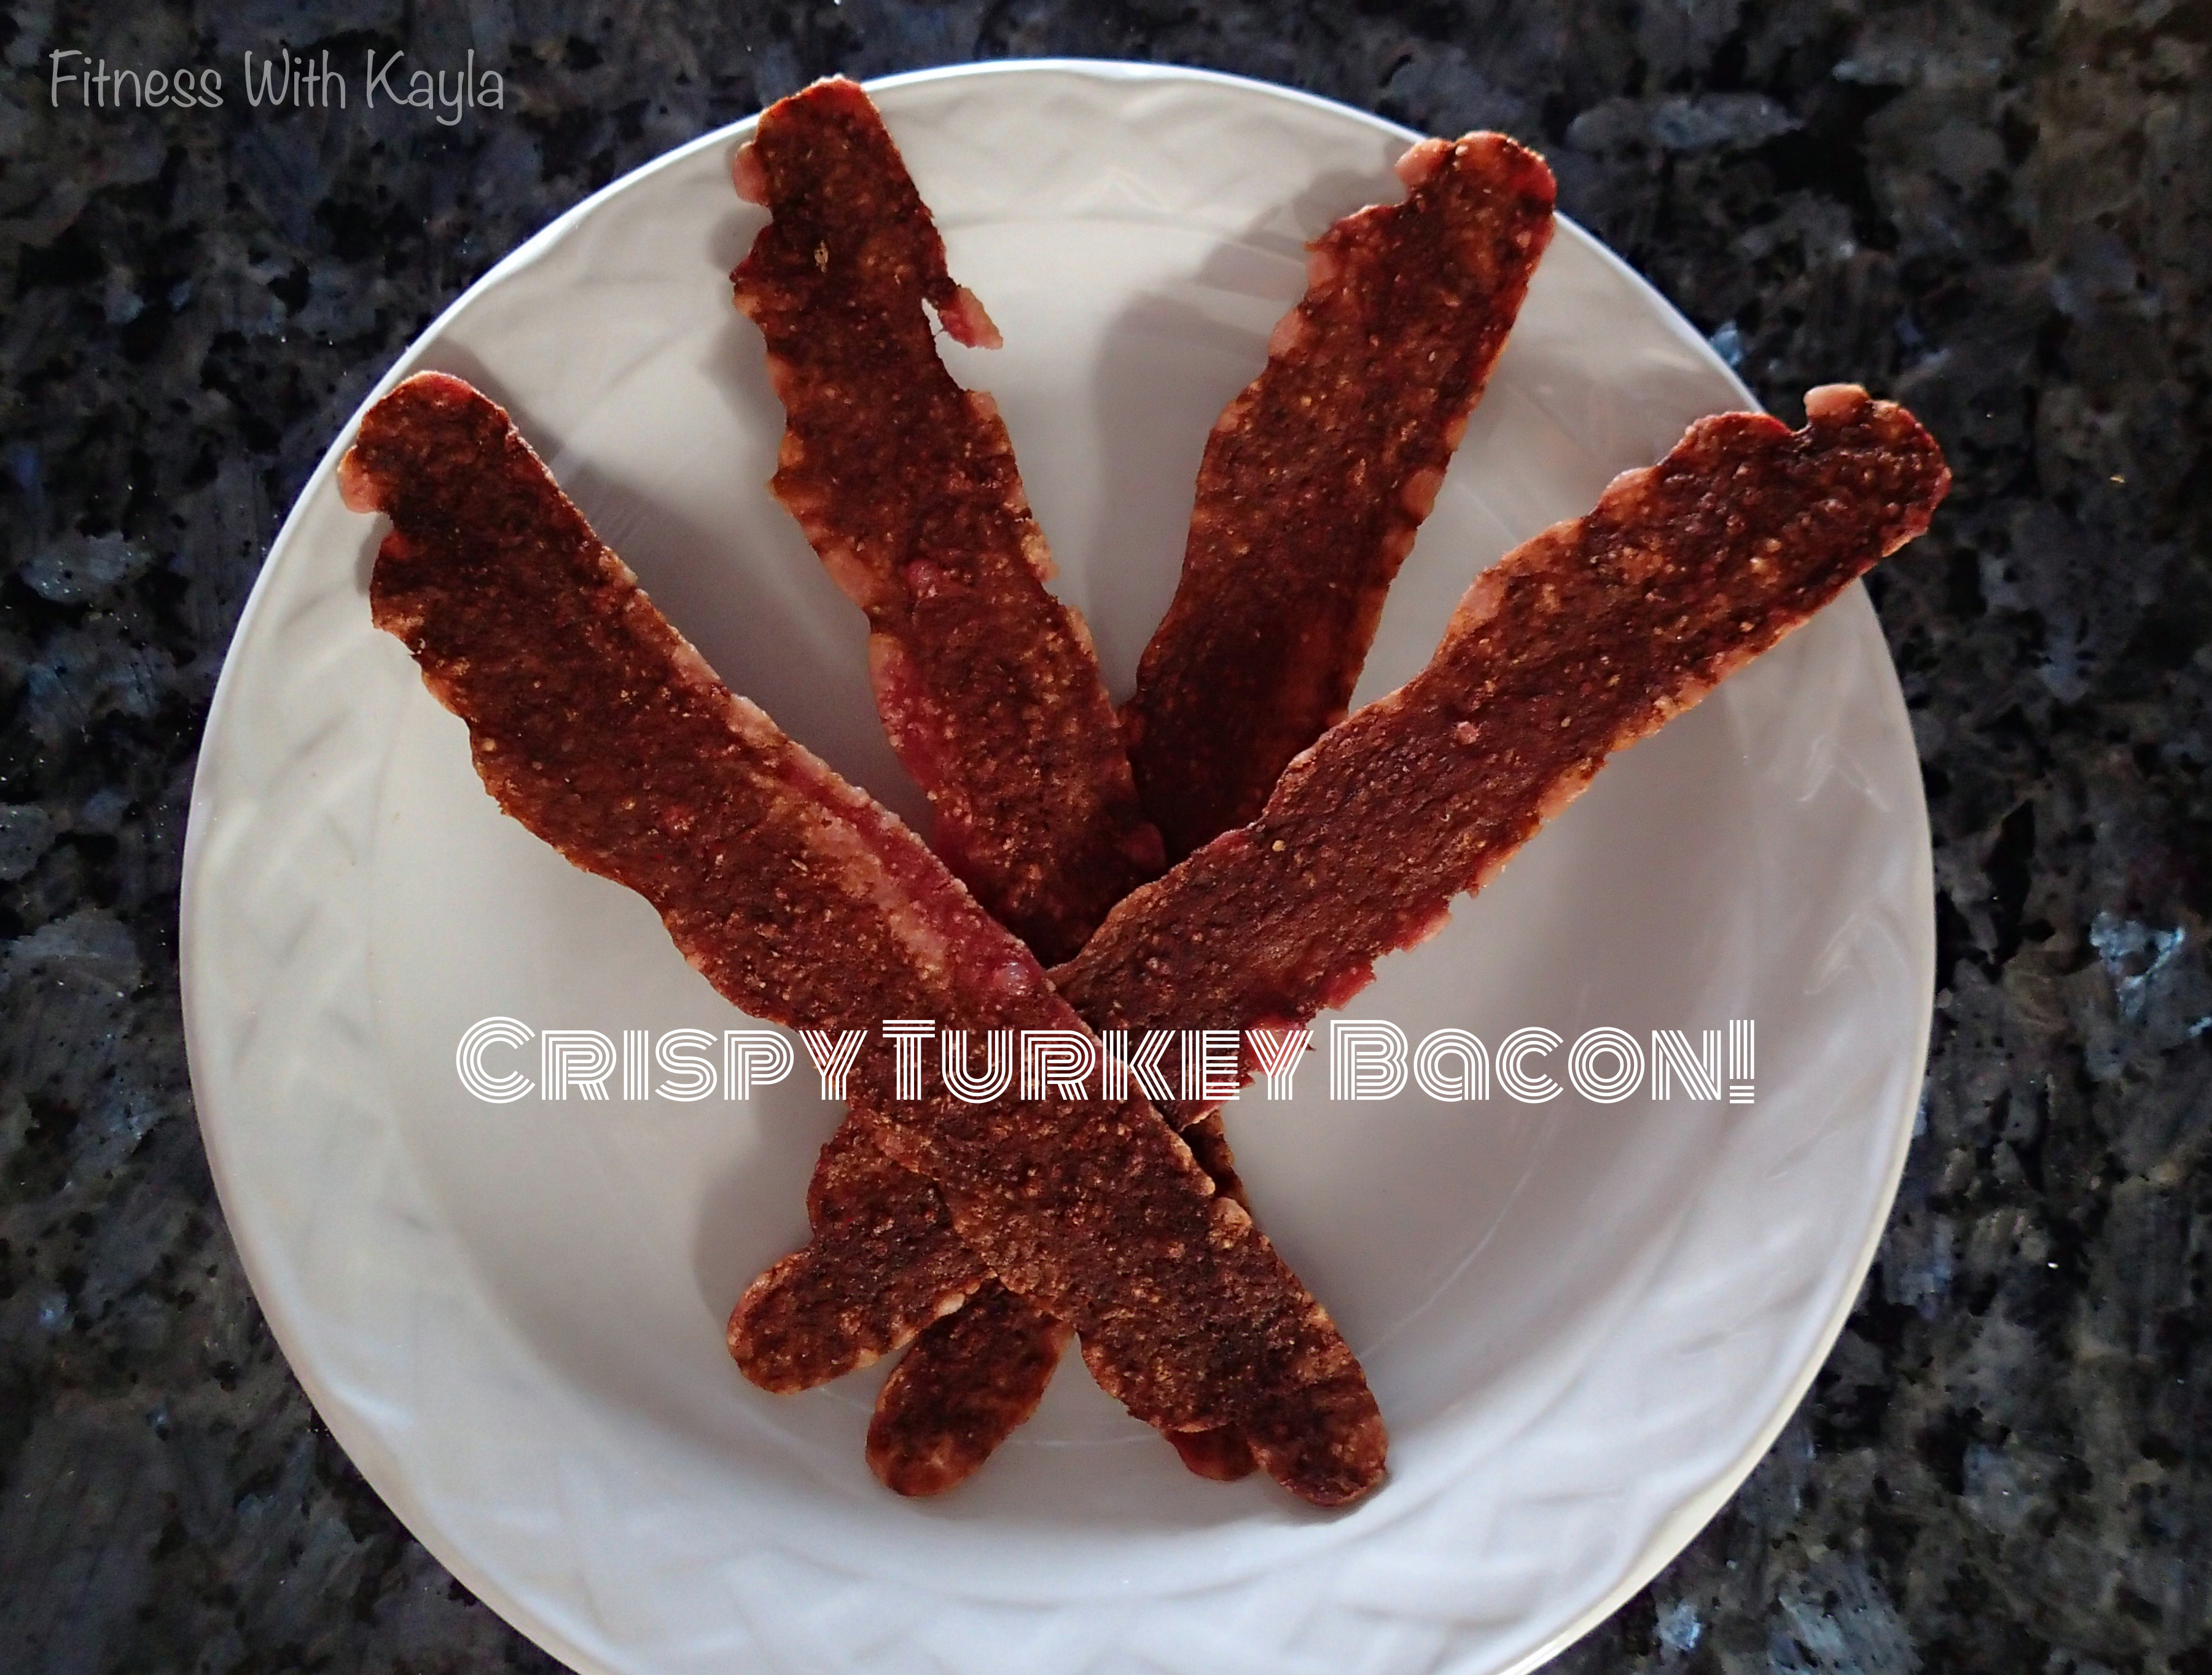
5- Cook in 30 second increments, checking on bacon after each 30 seconds. Allow bacon to rest for 15 seconds between cooking increments. Cook until bacon has reached desired crispiness. (About 6 sets of 30)
6- Allow to stand for 30 seconds before using.
Please remember that cooking times will vary with microwaves, so keep an eye on your bacon to be sure it does not burn.
I hope that this fast and easy trick to cooking crispy bacon in the microwave will help you not only still be able to enjoy bacon, but also speed up the cooking process.
Also, I do need to give my mom some credit for this one, as she is the one who introduced this trick to me!! Thanks Momma!
As always, please PIN, Like, and SHARE my blogs and recipes. I would love to hear your feedback! ENJOY! 🙂
COMING EVENT: Monday, June 15th at 9:30am. Join me at Latitude 20° +/- for an INTRODUCTORY ZUMBA CLASS.
Come and see what Zumba is all about with a fun-filled introductory Zumba class that will teach you all of the Zumba basics! If you are new to Zumba or experienced, come and join in the fun! All levels are welcome! Please remember to wear tennis shoes to class! If you have any questions, please contact Kayla at FitnessWithKayla@gmail.com or by private Facebook message. Don’t forget to share this event, and bring your friends!!! See you all at the Introductory Class on June 15th!
Do you know how important it is to stay hydrated, especially while exercising in this heat?? Here in Mexico we have been experiencing extremely warm temperatures! Becoming dehydrated in this heat we are experiencing is very easy, and when you add the extra sweat loss during exercise, you are likely to become dehydrated faster and easier. Dehydration can lead to fatigue, lack of endurance, muscle cramping, and more. So, PLEASE remember to drink your water all day long, especially before, during, and after exercise!
STARTING THIS WEEK: Fitness With Kayla will have Water for purchase during ALL classes. Each water is ONLY 10 pesos!!! So no need to worry about forgetting your water, or not having enough water during class… I will have plenty of COLD WATER for you all at only 10 pesos EACH!
Want to workout in the Caribbean, but can’t make it down to visit now? No need to worry! Workout with Fitness With Kayla from the comfort of your own home!
As of June 1st, 2015, Fitness With Kayla will be offering Virtual Workouts, Trainings, and Classes! Join in with the classes going on here in Mexico, and feel like you are right here in town.
New to Fitness With Kayla? Don’t worry… You can join the group and dance your heart away with Zumba, or schedule your own private or semi-private classes directly with Kayla! (*additional charges may apply)
Pricing for Virtual Workouts:
1 Class: $6 USD
5 Classes:$27 USD
10 Classes: $50 USD
All payments can be made directly through PayPal. All classes will be held over Skype, and in the future, by Google Hangouts. For more information, please contact Kayla at FitnessWithKayla@gmail.com.
In addition to virtual workouts from the comfort of your own home, Fitness With Kayla will be offering an Introductory Zumba class each month. Please keep an eye on the blog and Facebook page for the date of each class. In addition to a monthly introductory class, Fitness With Kayla will be offering one on one trainings, semi-private trainings, and private classes, where you can choose the location of your training, and I will come to you. Please inquire through email for more details and scheduling.
As always, check back to the blog for more healthy recipes, fitness tips, more exciting news coming soon! 🙂