Tag Archives: easy

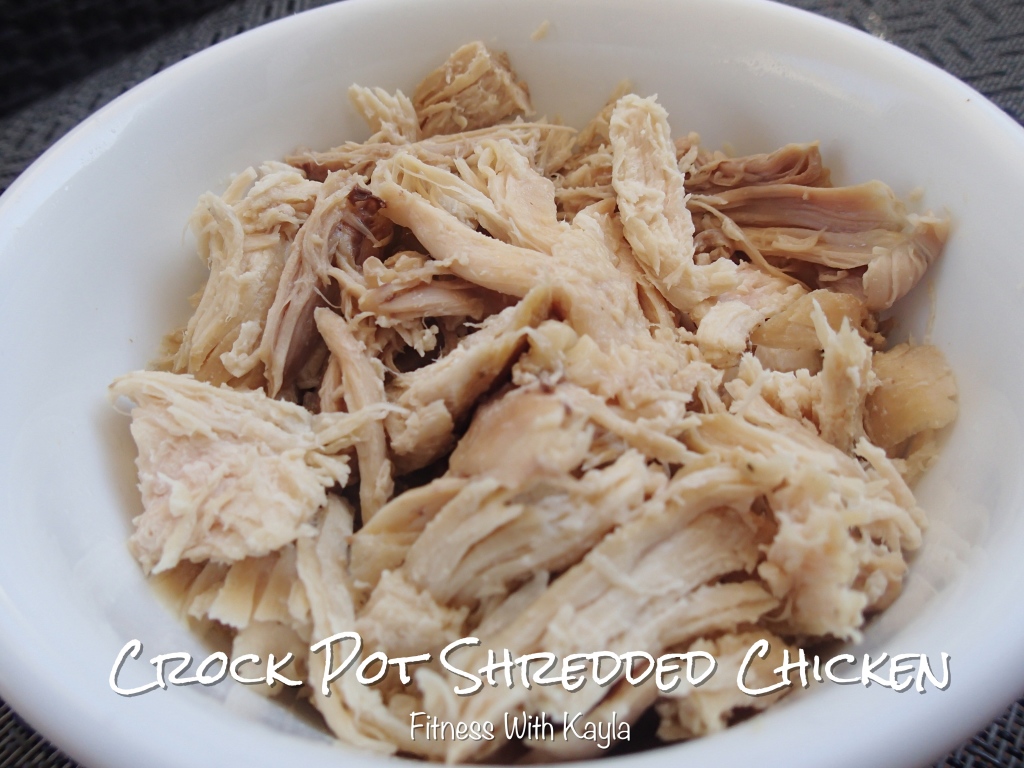
Crock Pot Shredded Chicken

Crock Pot Shredded Chicken

How many recipes do you have that require shredded chicken? I could probably come up with a lonnnnnng list, but I will save that for another time. My favorite uses of shredded chicken are in casseroles, soups, and CHICKEN SALAD!!! My family just loves chicken salad, and it is so easy to whip up using either my Crock Pot Shredded Chicken recipe, or left over Crock Pot Whole Chicken…or even a store bought Rotisserie Chicken. You chose which chicken route you prefer, but today I am going to share with you first my Crock Pot Shredded Chicken… and then check out my recipe for my Homemade Chicken Salad!!!

Ingredients:

3-4 Chicken Breasts

2 Carrots- chopped in large chunks

3 stalks Celery- chopped in large chunks

1/2 medium Onion- chopped in large chunks

2 cloves Garlic, minced

1 Jalapeño- diced (optional)

2-3 cups Chicken Broth or 1 cube Bouillon in 2-3 cups Water OR 2-3 cups Water

Garlic Salt (to taste)

Pepper (to taste)

Optional: 1 tsp Dried Basil

Instructions:

1- Heat Crock Pot to High.

2- Add the Chicken Breasts to the bottom of the Crock Pot, topped with all chopped veggies.

3- Cover chicken and veggies with Chicken Broth.

4- Cover Crock Pot and cook on high for 3-4 hours, or until chicken is tender enough to cut with a fork (or to desired doneness.) (or if you prefer, cook on Low for 5-6hours)

Enjoy 🙂
A Little Bacon, Please!?!?!?

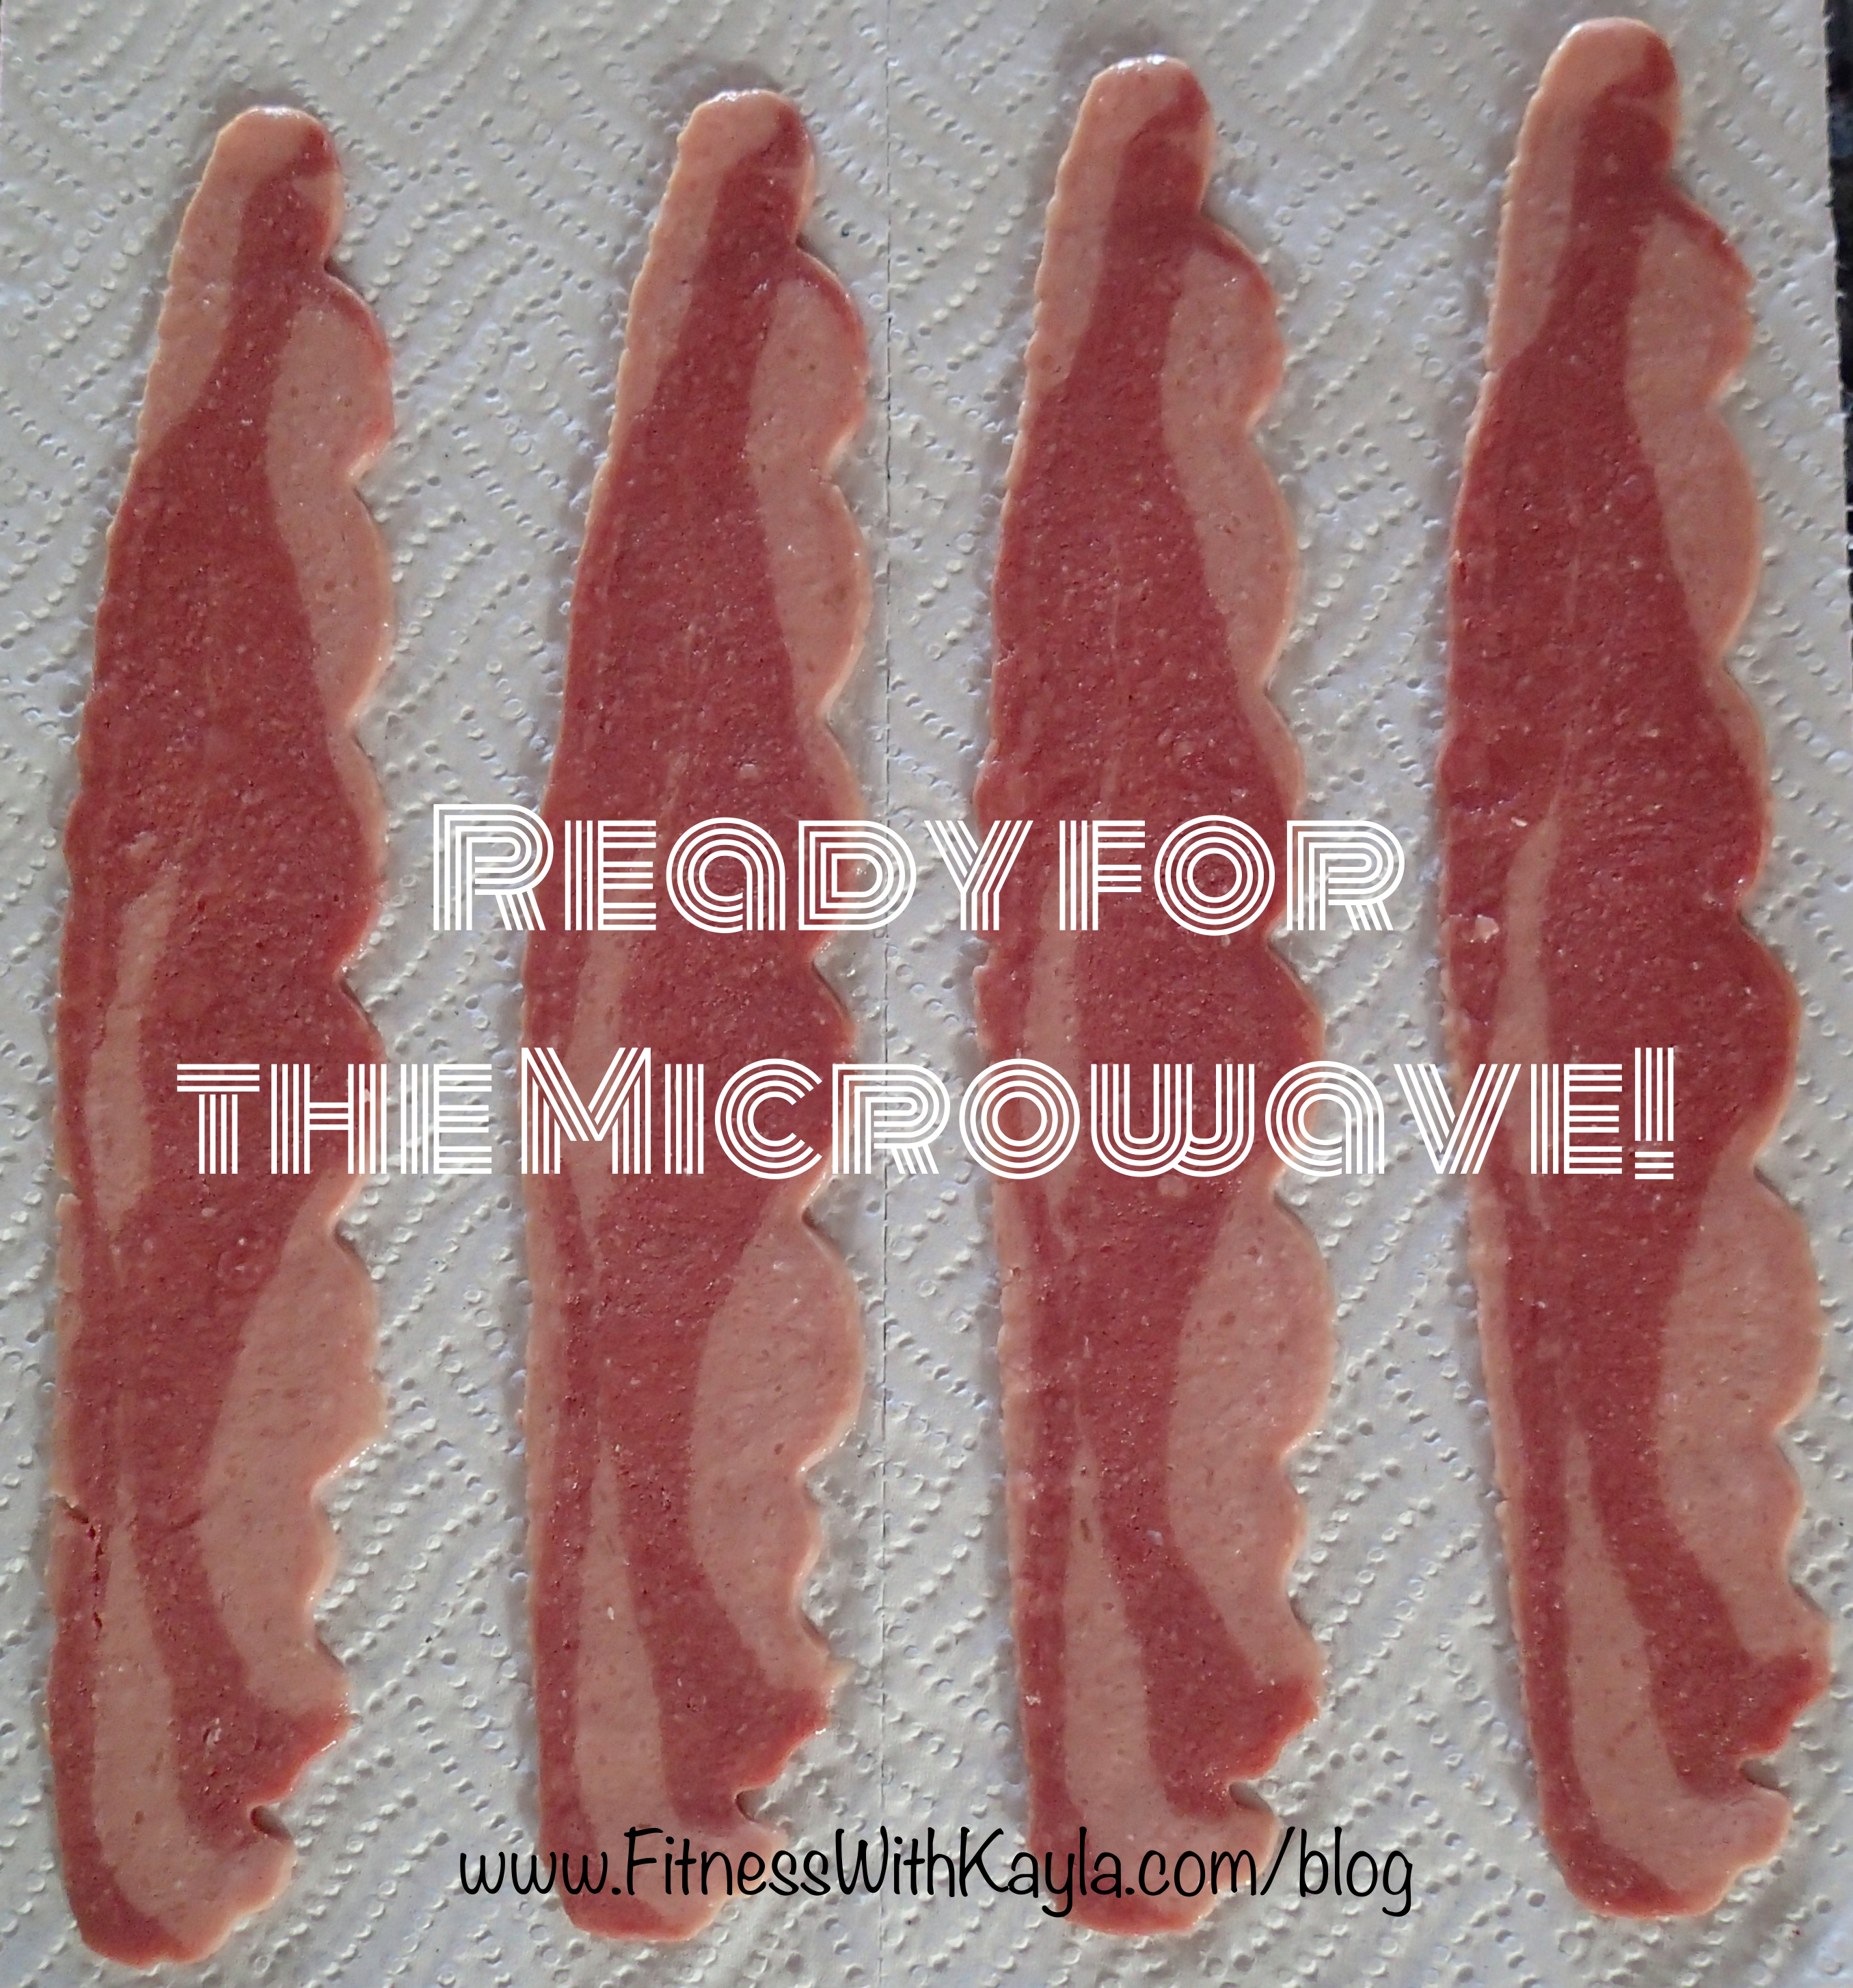
Do you love bacon, but don’t love the extra fat and grease that it adds to your diet? Well I have a solution for you! I swap out  Bacon for Turkey Bacon, and instead of cooking it in a greasy pan, I cook the bacon slices between paper towels in the microwave. You will still accomplish a crispy piece of tasty bacon, but without the fat and grease!

Turkey Bacon

How to cook Turkey Bacon, FAST and EASY!

What you need:

3-4 Slices Turkey Bacon

3 Paper Towels

1 Microwave

What to do:

1- Place 2 paper towels on top of each other.

2- Arrange turkey bacon slices on the paper towel so they are not touching.

Turkey Bacon

3- Place 1 paper towel lightly over the bacon slices.

4- Transfer bacon and paper towels to the microwave.

5- Cook in 30 second increments, checking on bacon after each 30 seconds. Allow bacon to rest for 15 seconds between cooking increments. Cook until bacon has reached desired crispiness. (About 6 sets of 30)

6- Allow to stand for 30 seconds before using.

Please remember that cooking times will vary with microwaves, so keep an eye on your bacon to be sure it does not burn.

Turkey Bacon

I hope that this fast and easy trick to cooking crispy bacon in the microwave will help you not only still be able to enjoy bacon, but also speed up the cooking process.

Also, I do need to give my mom some credit for this one, as she is the one who introduced this trick to me!! Thanks Momma!

As always, please PIN, Like, and SHARE my blogs and recipes. I would love to hear your feedback! ENJOY! 🙂

Pita Bread Pizza

Craving Pizza, but don’t want the added grease, carbs, fats, etc? I have yet another solution for you. Try making Pita Bread Pizza, right in your oven. Its fast, easy, and so tasty.

Pita Bread Pizza

What you need:

1 Pita (Depending on the thickness of the pita bread, and the thickness of crust you desire, you can use the whole pita, or slice it in half, so the pita is not as thick.)

2-4 Tbsp Pizza Sauce (or any tomato sauce will do)

Handful of Shredded Cheese (any kind you would like- I used Chihuahua that I shredded myself, but Mozzarella, Cheddar, Monterrey Jack, etc will work, too!)

Any additional healthy toppings, such as onion, tomato, bell pepper, jalapeño, turkey bacon, etc.

What to do:

1- Preheat oven to 300°F. Place pita directly on the rack of your oven. Warm the pita until it begins to crisp. Remove pita from oven and place on a plate.

2- Increase oven temperature to 350°. 

3- Cover pita with desired amount of tomato/pizza sauce (2-4 Tbsp should do). Top the tomato sauce with a handful of shredded cheese. (See photo below)

Pita Bread Pizza- Ready to cook

4- Return pita to preheated oven and cook until cheese begins to melt, about 5-6 minutes. If you are using additional toppings, remove pita from the oven and add those toppings now. (I used diced onion, tomato, and jalapeño). Return pizza to the oven, and cook the pita bread pizza until cheese melts and the pizza is crispy. See note below)*

If you are not adding additional toppings, continue cooking the pita bread pizza until cheese melts and the pizza is crispy. (see note below)*

5- Once cheeses have melted and pizza reaches desired crispiness, transfer the pizza from the oven to a plate or wire cooling rack. Allow to cool slightly before cutting and serving. 

Note: *Ovens vary in temperature, so keep an eye on your pizza to insure it does not burn. If it begins to burn, place the pita on a piece of foil to prevent burning.

**Feel free to use more or less cheese. I tend to use enough cheese to cover the pita, but there is no exact amount that you need to use!

I hope that you enjoy this quick, easy, satisfying pizza! Stay tuned for more simple and healthy meals, snacks, and tricks coming soon!

That’s all for today. Enjoy 🙂

Layered Taco Dip

Craving Mexican tonight, but want something low calorie?? Give my Layered Taco Dip a try. We had this last night for dinner, and it was GREAT! This dish is great because you can use it as an appetizer, as a meal, or even a great dish to bring to a party! My favorite part is it can be low carb, and vegetarian… OR you can add in some hamburger or chicken meat and serve it with tortilla chips!

layered taco dip_Fotor_Fotor

So for the Vegetarian Version:

Omit the meat. Instead of cooking the meat with the Taco Seasoning, mix the Taco seasoning in with the Light or Low Fat Sour Cream.

For Low Carb:

Serve the Taco Dip on a Lettuce Leaf or just eat it as is!

Other options:

Instead of using Hamburger meat, try using either Ground Turkey meat, or diced Chicken. If you do not like particularly spicy food, either cut the amount of jalapeños in half, or omit completely. Use your favorite salsa on the side to add even more yummy flavor to this simple Mexican dish!

Here is the full recipe:

Ingredients:

1 lb Ground Hamburger or Turkey Meat

1 envelope Taco Seasoning (I use Old El Paso)

8oz Light Sour Cream

1 16oz can Refried beans

1/2- 1 cup sliced pickled Jalapeños 

1 cup Shredded Cheddar Cheese

1 cup Shredded Monterey Jack Cheese

1 cup Lettuce, shredded

1 Large Tomato, diced

1/2 cup Onion, diced

Instructions:

1- Cook hamburger meat in a skillet until cooked through. Add taco seasoning and 2/3 cup water, and cook on low for another 10 minutes. 

2- On a large plate, spread refried beans, topped with a layer of sour cream. Add cooked hamburger meat followed by a layer of jalapeños.

3-Add a layer of mixed cheese (1 1/2 cup total), followed by a layer of each lettuce, tomato, and onions. Top off with final 1/2 cup of cheese, and any leftover jalapeños. 

4- Serve immediately, or refrigerate for 30 minutes to cool, depending on preference!

*Amount of jalapeños will vary depending on your spice preference. **If not using meat, mix taco seasoning into sour cream!

Check out a printable recipe card of the full Layered Taco Dip Recipe here: Layered Taco Dip

I hope you enjoy this recipe as much as we do. Give it a try and let me know what you think! Feel free to submit your comments here on the blog or on my Facebook page, Fitness With Kayla. Enjoy 🙂